As I write, 1.5 million people all around the world are sitting at home, on the train, or in secret at work, watching over 50,000 different live streamers on Twitch. That’s an incredible number.
But what if you wanted to be one of those 50,000? What if you wanted to make a name for yourself as The Next Big Thing on the world’s favourite game-streaming platform?
In this Beginner’s Guide to Starting a Channel on Twitch, I’ll walk you through everything you need to know – step-by-step – to not only launch your channel, but make it the best it can possibly be (and maybe even earn some money whilst you do it).
Starting a Twitch Channel: Beginner Basics
There are a lot of different elements which go into starting your own Twitch channel. If you try to consider them all at once, you’re going to quickly become overwhelmed. That’s why I think it’s best to first break down a few of the most important Beginner Basics:
- Why? There are lots of different reasons people stream on Twitch. Most people stream as a hobby, and as a way to make friends and find a community. Others make a fully-fledged career as a Twitch streamer.
- What? Twitch started out as a platform for streaming games, and remains mostly popular for this purpose. However, it also has much more to offer. You can now also stream TV, live sport, gambling, talk shows and podcasts, conversation, creativity and more!
- Who? Anyone over the age of 13 can legally start a Twitch channel, though between 13-18 you must have the permission and supervision of an adult (parent or carer). You can begin monetizing your Twitch stream from the age of 18 onwards.
- Where? You can stream on Twitch from just about anywhere, including on your PC or laptop, your smartphone or tablet, and your Xbox or PlayStation.
- How? In order to launch a successful Twitch channel, you’ll have to have the right equipment, the right software, and an idea of what you’ll be streaming, when you’ll be streaming it, and why other people should watch it.
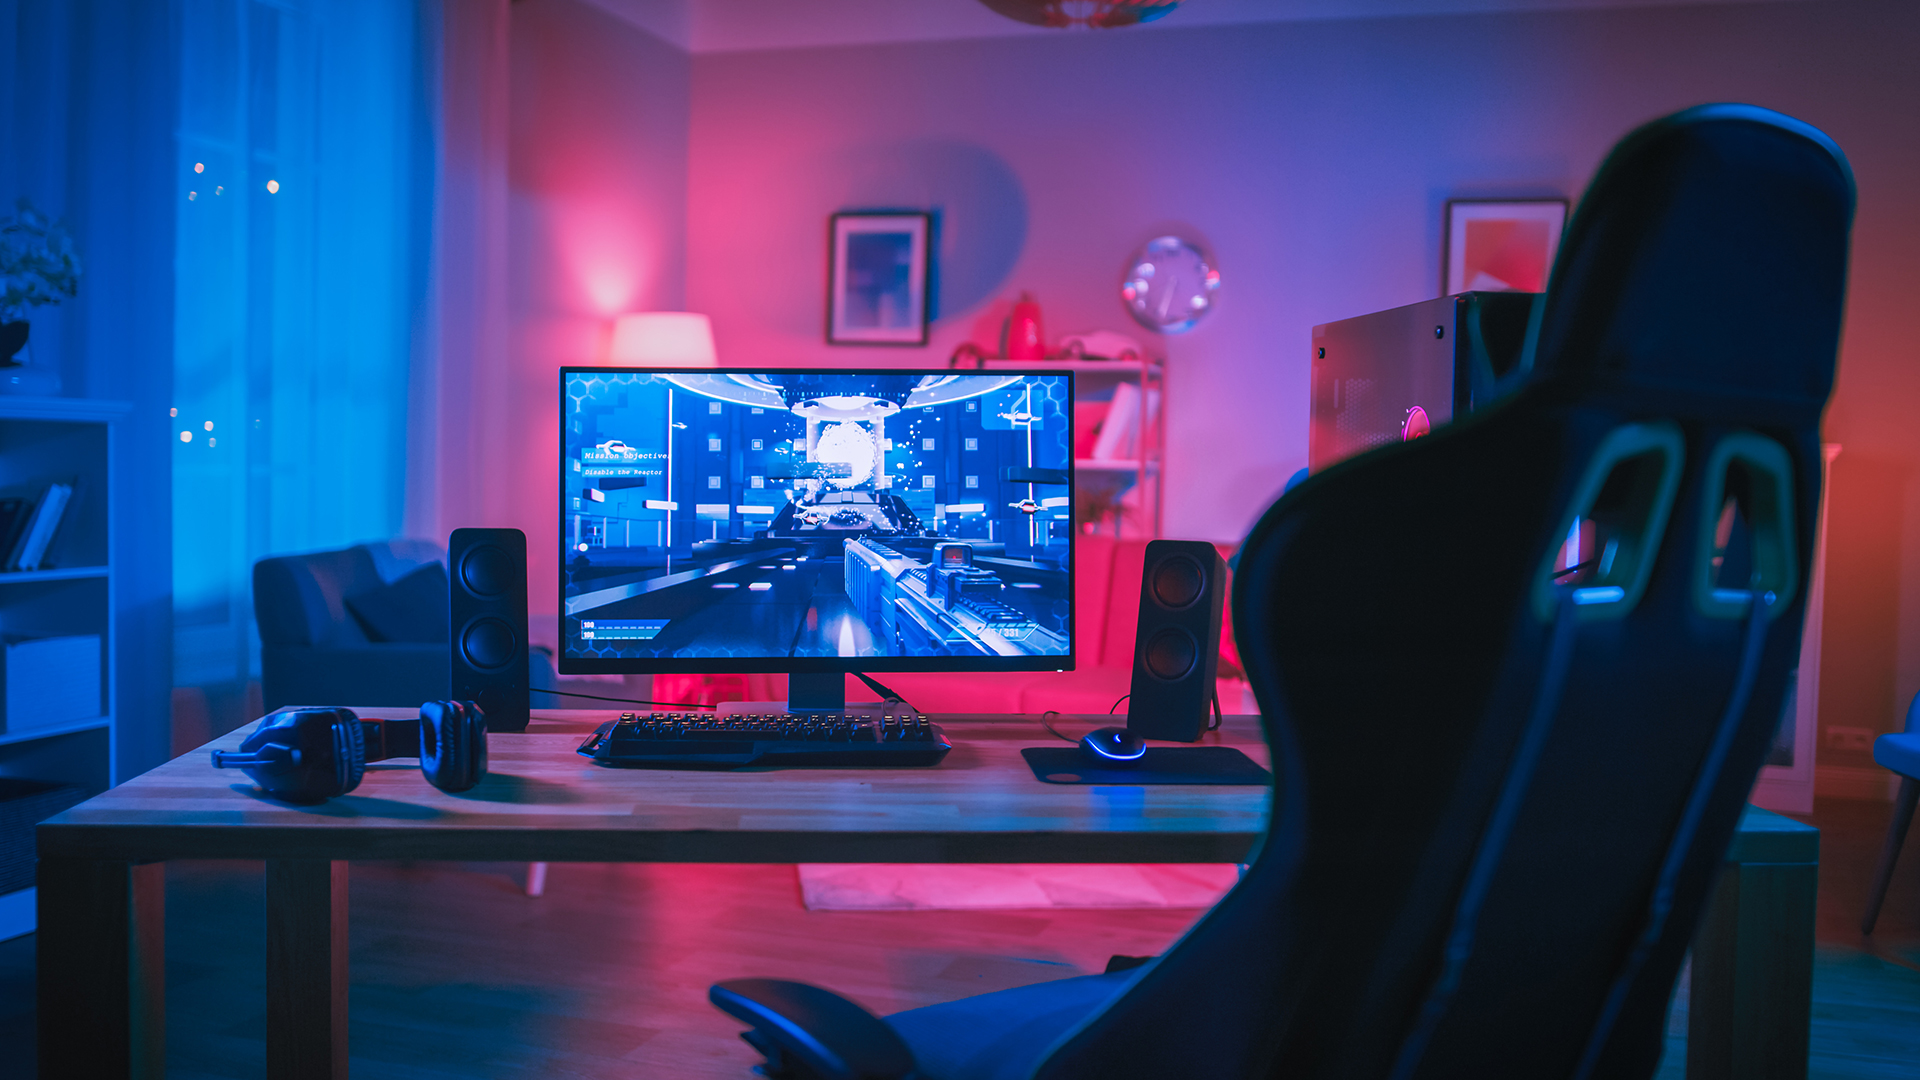
How to Choose the Right Streaming Equipment for Twitch
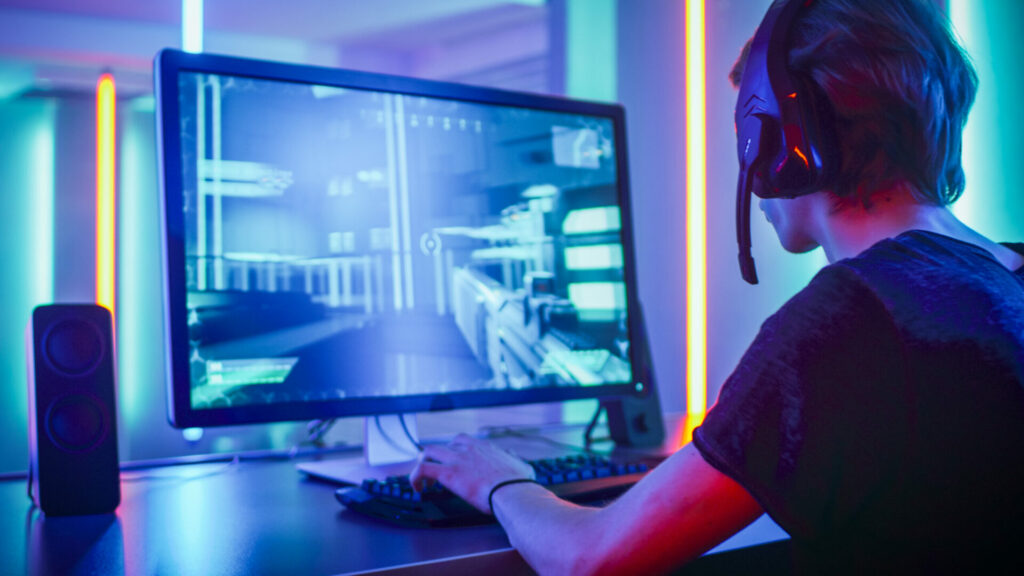
To start a channel on Twitch, it’s unfortunately not enough just to have a compelling personality and conversational style. It’s equally important (if not more so!) to have the right equipment. After all, in the world of streaming, Audio and Video = King and Queen.
Computer, Smartphone or Console
You can stream via the Twitch iOS or Android app on your smartphone (which is ideal for streaming conversation under the Just Chatting category, or for mobile gaming), or via your games console (such as the current gen PS5 or Xbox Series X/S).
However, we would generally recommend streaming via a PC or laptop, since they offer the streamer greater control settings and customization options, as well as generally better specs for high-quality streaming.
The minimum specs you’ll require for streaming from any device are:
- Intel i5-series CPU (or Ryzen 5 – the AMD equivalent) or higher
- GTX 1060 graphics card or higher
- 8GB RAM or higher
Windows PCs generally make for the best gaming and streaming PCs, but Apple iMacs, MacBooks and MacAirs continue to be popular choices. If you opt for a Mac, you’ll have to remember to purchase a USB/HDMI/Ethernet hub in addition.
Camera
If streaming with your smartphone or tablet, then the built-in front-facing camera of your device will usually suffice. If streaming with a PlayStation, you’ll have to use the branded Sony PlayStation Camera. If streaming via an Xbox, you can plug in any USB webcam.
For computer streamers, you have two options:
- USB Webcam: Buy yourself a quality USB plug-in webcam which clips onto the top of your computer screen, or comes with a tripod desktop stand. This is the more budget-friendly option, and is the one most streamers (especially beginners) opt for.
- DSLR/Mirrorless Camera: If you’ve got the budget, and want to have the best looking streamer footage out there, then you could always record yourself live using a DSLR or Mirrorless Camera. These things are expensive, and will need an AC outlet wall-adapter to record continuously for long streams, but they do produce undoubtedly the best quality picture.
Microphone/Headset
Even more important than the quality of your video, is the crispness and roundness of your audio. Most Twitch viewers will be tuning into your channel using headphones, and will be listening out for a really warm, rich voice recording which they can connect with and feel close to. Poor quality audio is the fastest way to lose followers (or never acquire them in the first place).
You have three options to choose from when it comes to a microphone for Twitch streaming:
- Headphones: Traditional gaming headphones with a built-in mic which have been used by online gamers for over a decade.
- USB ‘Plug-n-Play’ Mics: Budget-friendly USB-C mics which plug directly into your console or computer and provide medium-high quality sound.
- XLR Mics: Traditional recording mics which require an additional audio interface and require greater setup, for superior high-quality sound.
If you opt for a USB or XLR mic, you’ll be confronted with one last choice: Cardioid or Condenser?
Cardioid Mics are ideal for most streaming situations, as they’re designed to pick up only the sound directly in front of the mic, thus eliminating a lot of background noise.
Condenser Mics are useful in situations where you want to pick up background noise, or two-way/multidirectional noise, such as for talk shows and podcasts, or travel vlogging.
Lighting
So much of the quality of your recorded video happens behind the scenes, with lighting and background: our final two top tips for beginner Twitch streamers.
There are lots of ways to set up your Twitch streaming lighting, and no single perfect solution. Some streamers like to use ring lights behind their webcams to spill a soft, even, and kind light onto their faces. Others opt for more typical studio lighting on tripods and with umbrellas. Many streamers choose soft, coloured lighting like fairy lights in the background of their shots to add a little character to their streams.
Whatever you choose, give it a solid test run before your first stream to make sure you and your background look good and well-it on camera.
Background
Finally, take time to consider how you want your background to look. The background of your video says more than you might think about you as a person and a streamer.
You may want to decorate your streaming room with plants, colourful string lights, gaming memorabilia and the like. Equally, you may opt for something subtler and simpler, if that’s your style.
Alternatively, you can choose to set up a green screen behind you, so that you can chroma key out the background and stylise your Twitch streams with just you, your mic and your chair floating on screen.
How to Set Up, Customise, and Launch Your Twitch Channel
You’ve bought your gear, now it’s time to actually create a Twitch account and set up your channel.
Step #1: Sign-up to Twitch
First thing’s first, you need a Twitch account. Head to https://www.twitch.tv/ and click Sign-Up in the top-right corner. Choose a username (this will be the unique name which viewers will come to know you by, so choose wisely!), and then enter the rest of your identification details.
Step #2: Review the Twitch Community Guidelines
Streaming on Twitch is hella fun. You meet so many new people, make friends, share laughs and GIFs, messages, and advice, and you get to watch gamers, vloggers, and streamers do some impressive things. But it’s also important that you recognise your place in the wider online community.
As a streamer, it’s your job to help keep Twitch a safe, inclusive and welcoming space to all. That’s why you should take the time to read through the Community Guidelines. Doing so also ensures that you won’t accidentally break Twitch Terms of Service and get banned!
Step #3: Customise your Twitch Channel
The first thing anyone will see when they click on your username or livestream is your Twitch channel. It is therefore crucial that you make your channel look and feel unique: just like you! To do so, just head to your Creator Dashboard on a PC or laptop (to get the widest range of customisation options).
- Choose a profile picture: Upload a profile picture which captures the vibe of your channel. This could just be a photo of you, or it could be a custom avatar for your brand.
- Edit your Twitch bio: Keep this short and sweet. Your Twitch bio should tell new viewers exactly who you are, what games (or other things) you like to stream, and give a rough idea of a streaming schedule (if you have one… which you should!).
- Add social media links: Cross-platform connection is a really smart manoeuvre if you’re serious about building a following on Twitch. Examples of strong social links to add include to your YouTube (where you can upload clips from Twitch streams), Instagram, Facebook and Twitter.
- Add Twitch Panels: Twitch Panels are the building blocks of your profile. Whilst not necessary, they can be extremely handy for adding additional information (such as about your tips pages, community guidelines, personal background, etc.) and extra value to your stream.
- Choose your default Stream Overlays: Whenever you need to dash to the bathroom, answer the front door, or generally take a break from a stream, you don’t want to leave viewers wondering where you are. A ‘Stream Overlay’ is a customisable screen which displays whenever you’re away from your seat. Your preferred streaming software provider will tend to have a library of free overlays to choose from.
- Select your Extensions: Twitch offers a number of additional plug-ins which can elevate the experience of your viewership. These include CTRL+, which allows you to run polls and quizzes in your chat window, and Sound Alerts, which gives viewers the ability to send soundbites during your stream.
Step #4: Plug in your hardware
With your account created and your channel optimised, it’s time to plug in your mic and webcam, set up your lighting and backdrop, make sure everything’s got enough battery (or AC) power to last, and choose a game to play…
Step #5: Turn on your software
If on a PC or laptop, you can’t stream on Twitch just by using the app or heading to the website. You actually need to download onto your device a piece of free streaming software.
Here’s a list of the most popular streaming programmes used by Twitch streamers all around the world (for free), and which have easy-to-follow onboarding instructions for total newbies:
Step #6: Start your first stream!
We’ve brought you this far, young streamer, now it’s time to choose your own adventure! Go forth and stream games, chat to others, vlog your travels. Whatever you do, just make sure you have fun whilst you do it.
How to Monetise Your Twitch Streaming Channel
Most paths to turning your streaming hobby into a paying job are long and arduous, requiring years of commitment and massive concurrent viewer numbers. However, some revolutionary esports marketing agencies are now making it possible for Twitch streamers to become brand ambassadors as soon as they start streaming. What a time to be alive!
Conclusion
Starting your very own streaming channel on Twitch requires lots of different steps, learning curves, and some initial cash investments. It can seem daunting to the experienced gamer, let alone to the total beginner. Thankfully, however, by following our tutorials above, you’ll be up-and-running on Twitch in no time at all. Good luck, and have fun!